Radu’s implementation of the “Siberian” 4P1L Gen3. designed by Ale Moglia
Thank you Ale for such a good design!
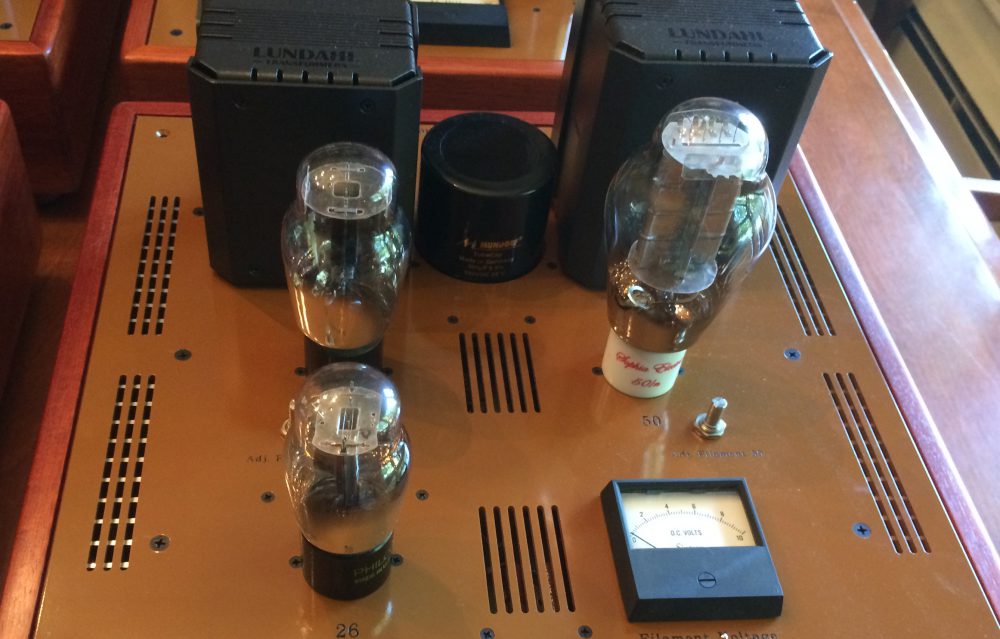
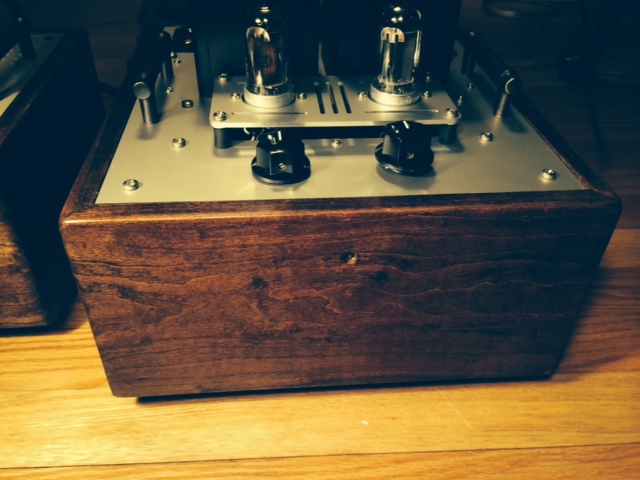
4P1L once again…another build using the amazingly linear and musical DHP 4P1L.
This time I used Ale’s design that can be found at http://www.bartola.co.uk/valves/2014/04/21/4p1l-dht-preamp-siberian-gen3-finished/.
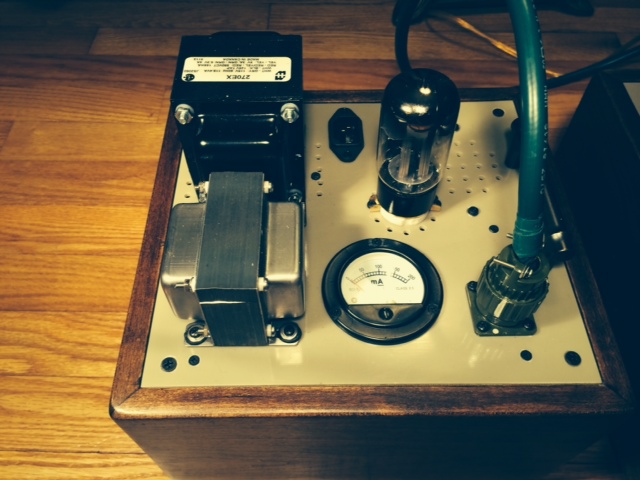
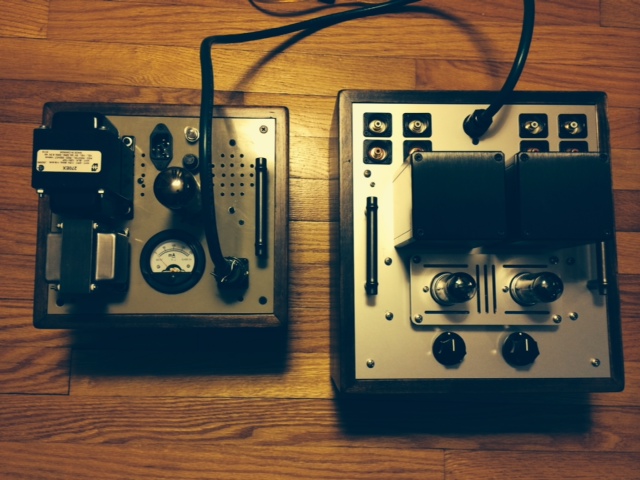
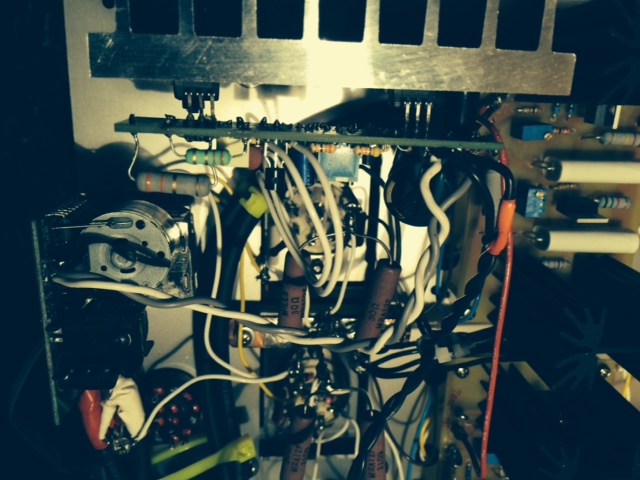
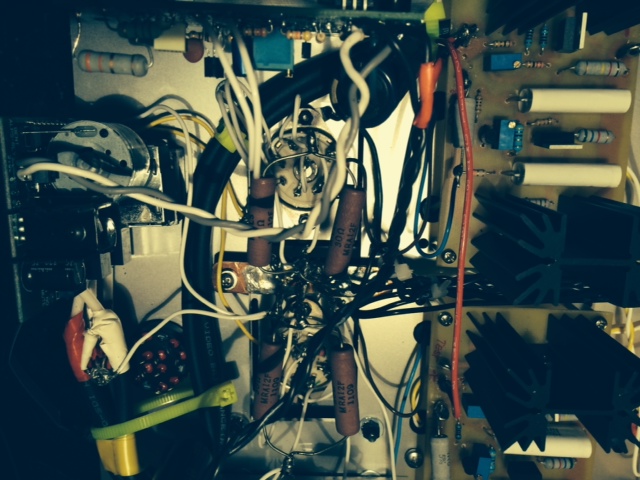
The power supply unit is a redesigned (repurposed) one. It uses Hammond 270Ex for main HV in a quasi choke input 1uF(ClarityCap)-5H(150mA-105ohms)-47uF(SolenFast)-6H(150mA-72ohms)-47uF(SolenFast). Here is the PSUD2 result: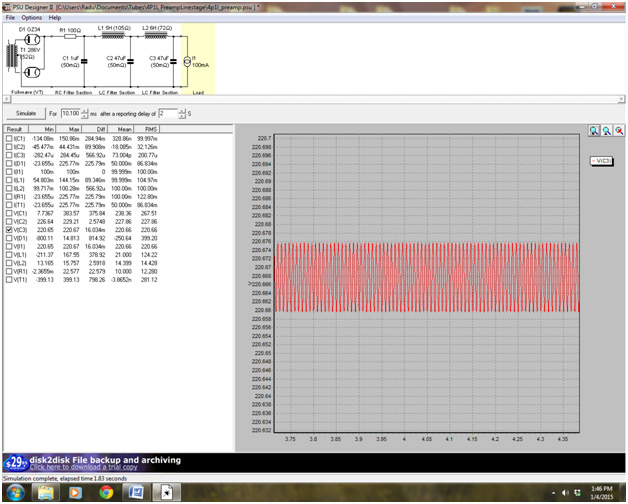
in reality the rectifier used was 6BY5GA so the above results are slightly different. HV is supplied with a 5.7mVrms ripple which is perfectly adequate considering that SSHV will add at least 40dB PSSR bringing the ripple at extremely low levels ( I could not measure with my equipment). Total HV current is measured and shown on a panel meter(200mA) and it should always show about 100mA ( preset by the CCS of the SSHV).
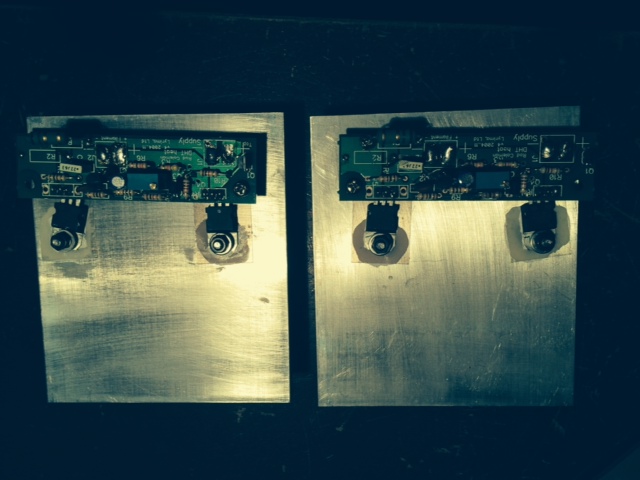
The raw power supply for the filament bias are using Hammond 187D12m, 1N5822 and 10mF-2×0.33ohms-10mF.
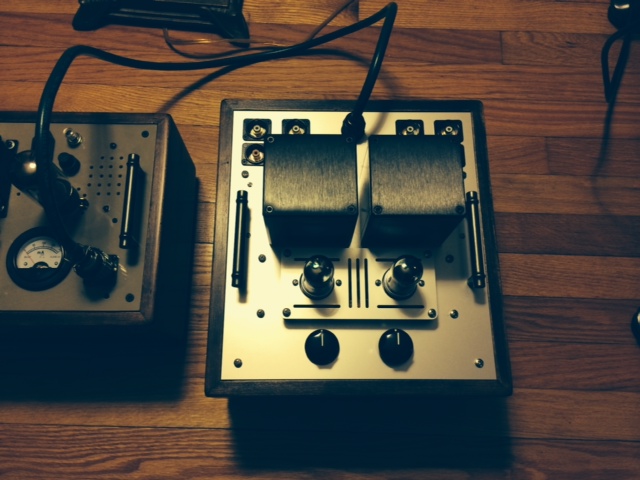
PSU is supplying all voltages (HV and LV) through a 7 wire, screened umbilical cord, which is permanently attached on the main preamp side and can be disconnected on the PSU side. However, it is not recommended to run the PSU without load.
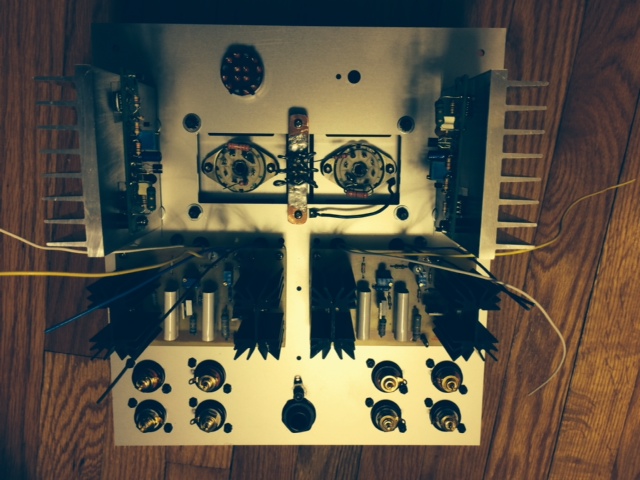
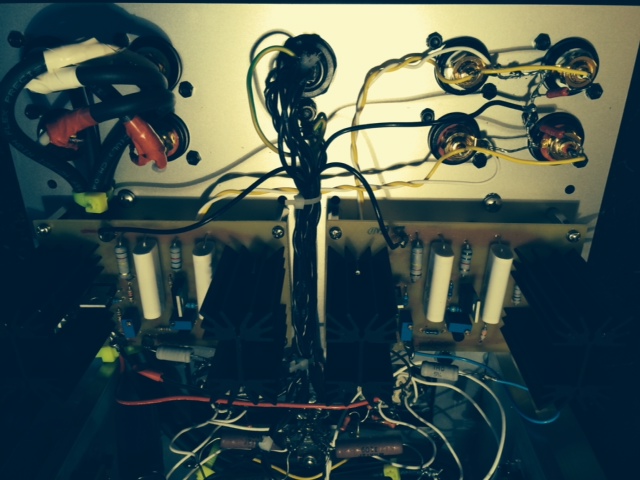
The main preamp uses Ale’s schematics. However, a Bent Audio Alps stereo remote control was implemented. Thanks to John Chapman of Bent Audio for a great product. I powered the remote control from one of the 16 V raw supply for filaments with no audible effect. I used the relays R1 and R2 controlled by “Input” and “Phase” push buttons on the remote to switch 2 input sources of my choice.
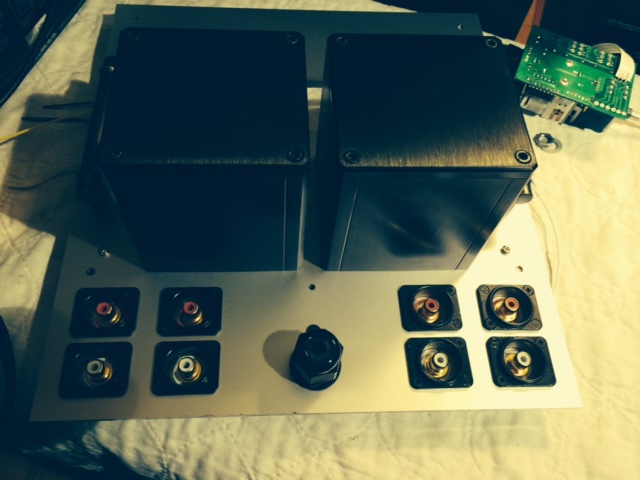
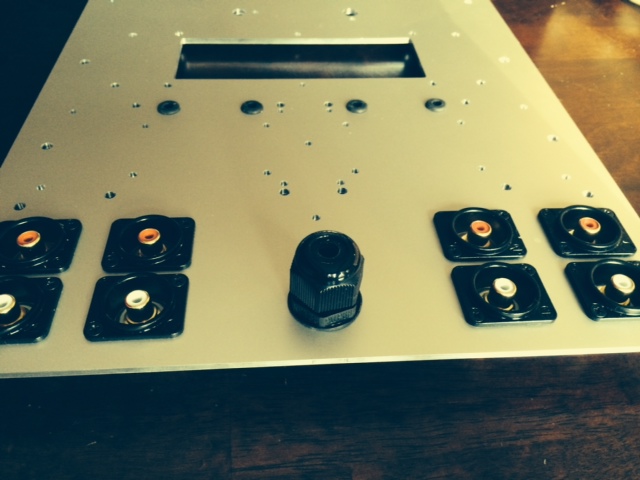
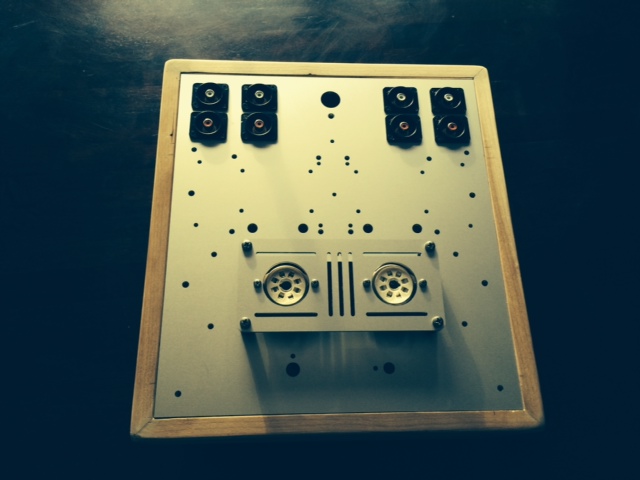
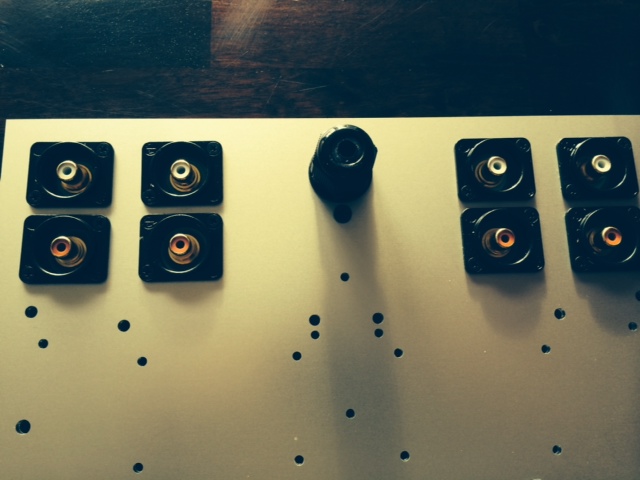
I also installed two sets of RCA outputs that are in parallel. All quality parts were used throughout.
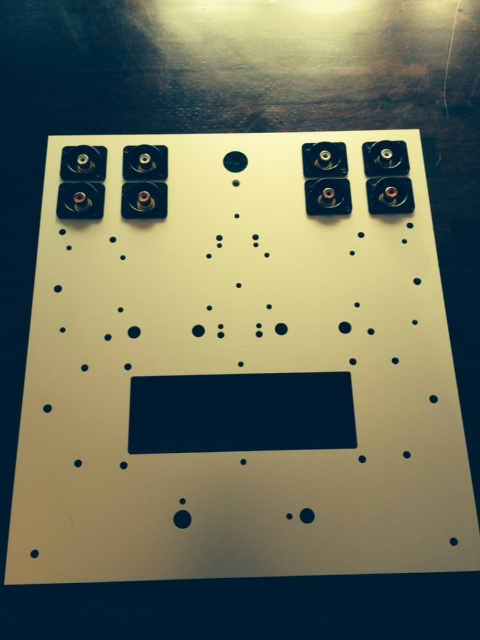
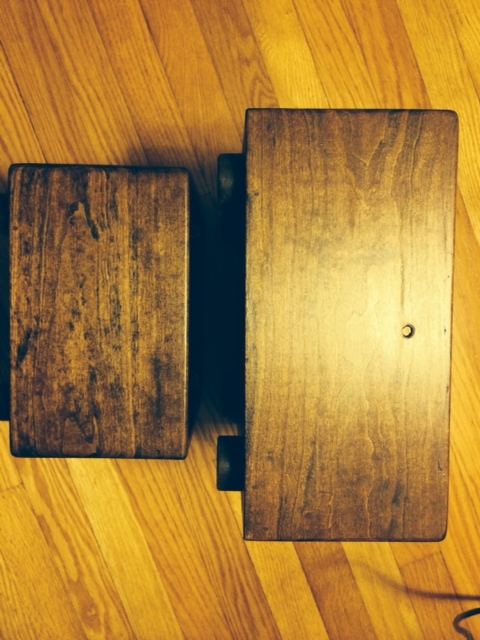
The mechanical design was a bit challenging because of few reasons:
- wanted to make it as compact as possible
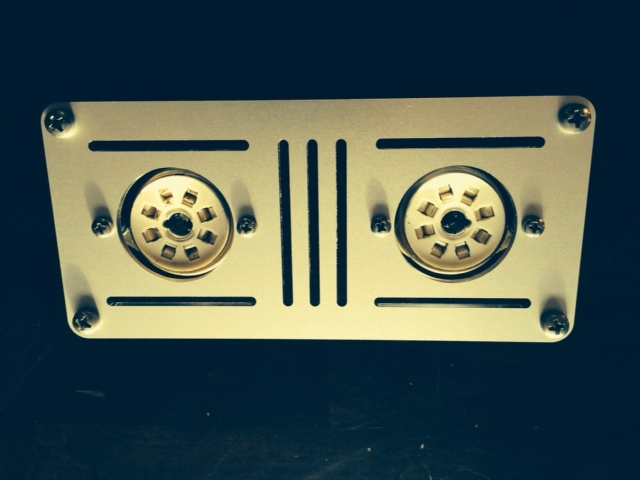
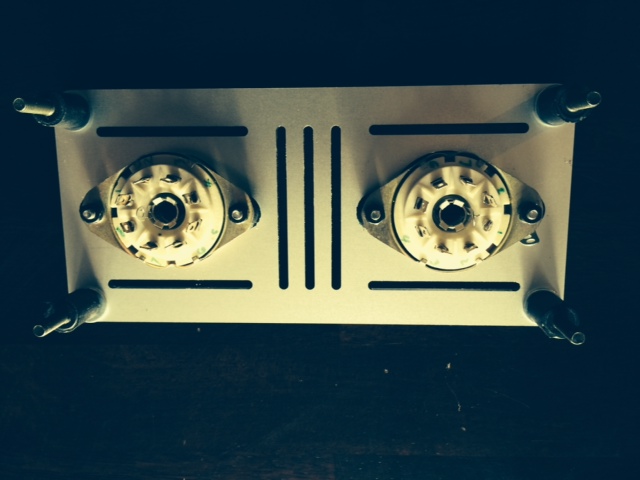
- needed a very good vibration damping solution for the 4P1Ls (see below)
- compared to my previous designs I needed to have all RCA’s (inputs and outputs) in the back (I used Belden 1505 coax cable for all input connections)

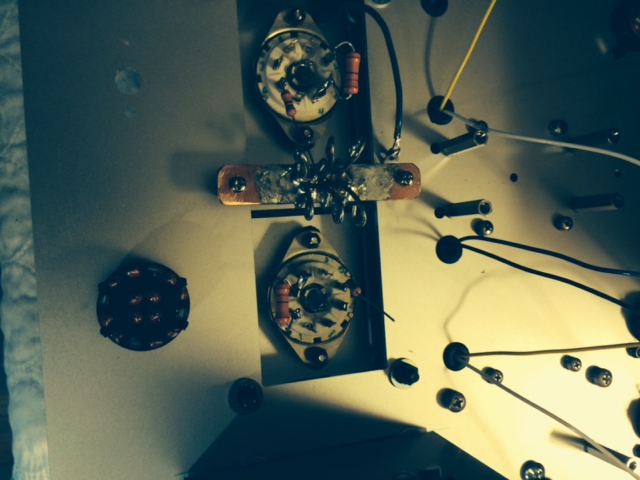
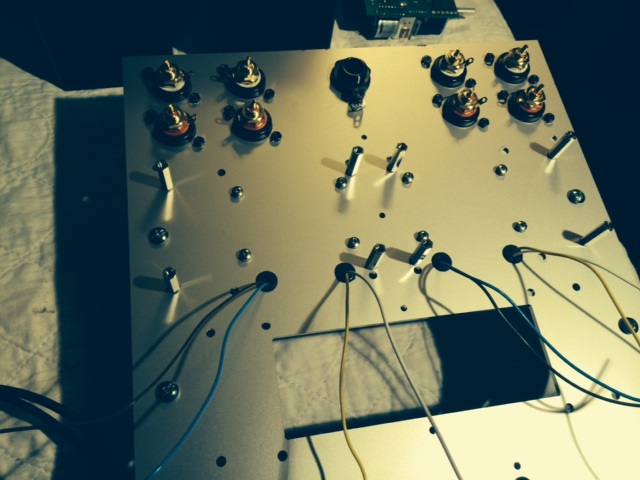
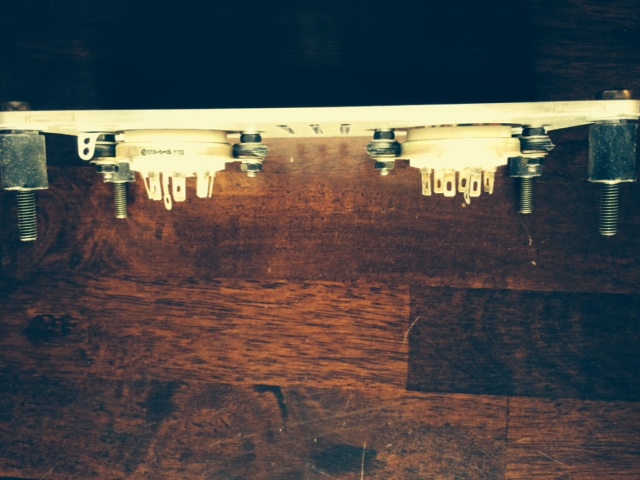
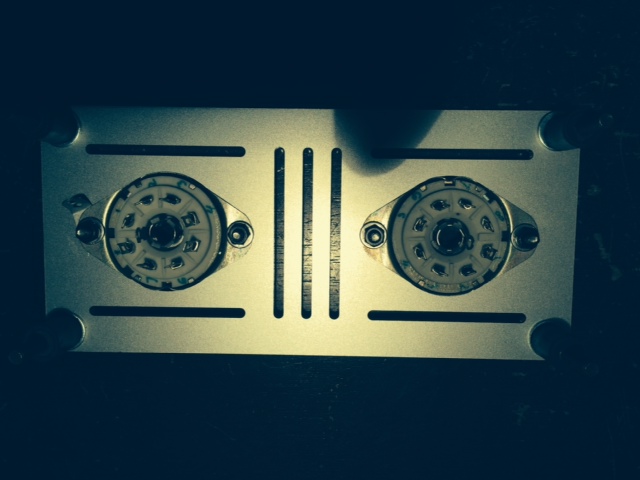
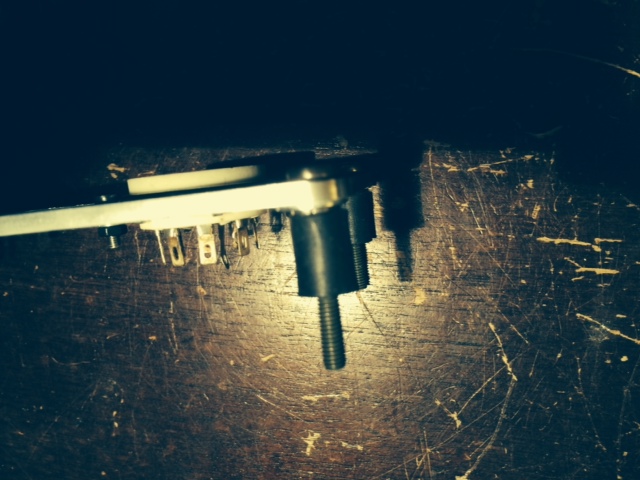
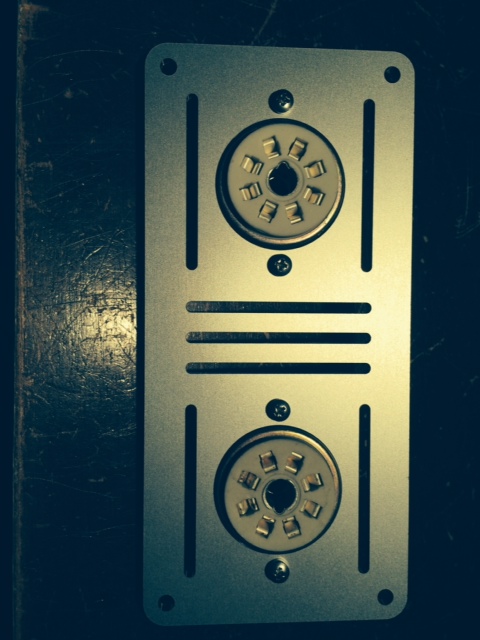
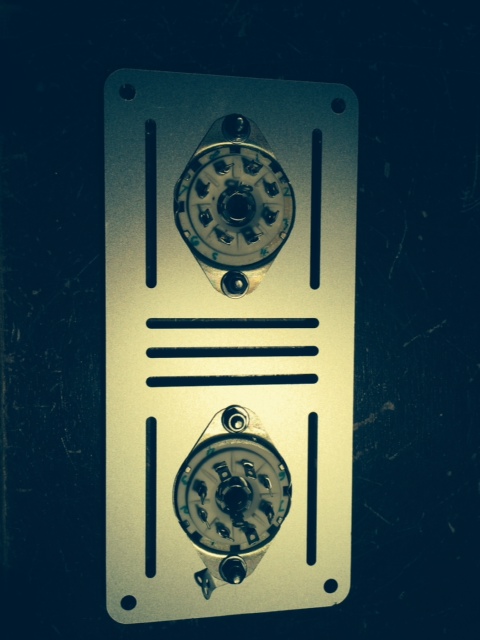
I believe the result is satisfactory. There is a main top plate that has all equipment attached to, and a small aluminum plate that holds the tubes and is attached to the main plate through 4 neoprene vibration damping sandwich mounts. The tube sockets are attached to the tube plate through rubber grommets. In addition each tube has 2 rubber rings installed. All the measures listed above result in lowering the micro phonic effect that 4P1l is prone to. Another challenge was securing the remote IR diode.

Specs resulted from the measurements listed below:
- Gain : about 2X or 6dB
- Input impedance: 50kohms
- Input capacitance: about 200 pF ( calculated, not measured)
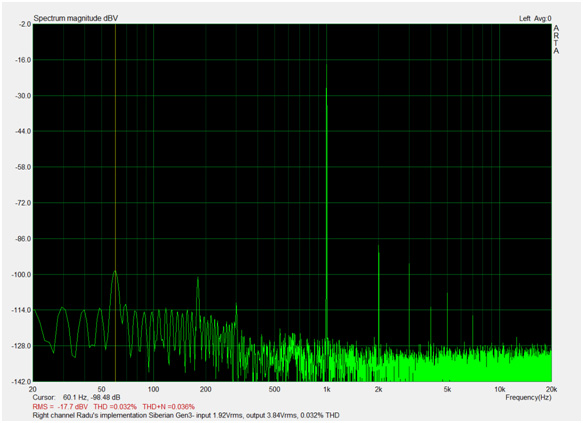
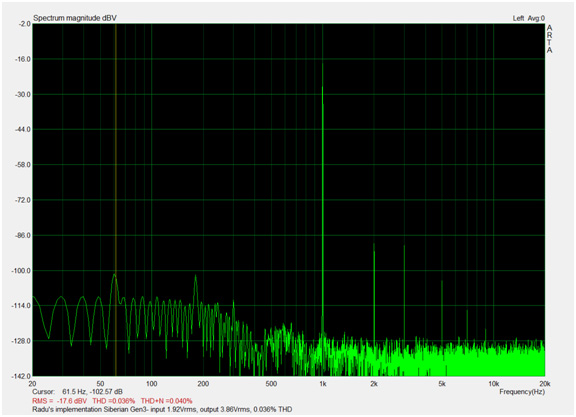
- THD at 3.84Vrms output : lower than 0.1% depending on the tube ( best at 0.02%0 in this case about0.038%)
- Distribution of Harmonics: 2nd @ -72.6dB,3rd @ 72.5dB, 5th @ -86.5dB and 7th @-98.8dB
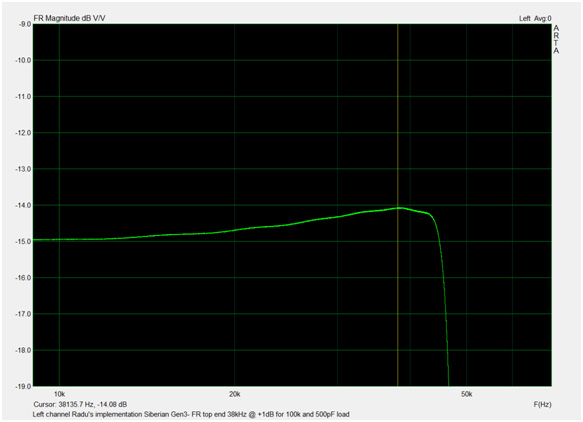
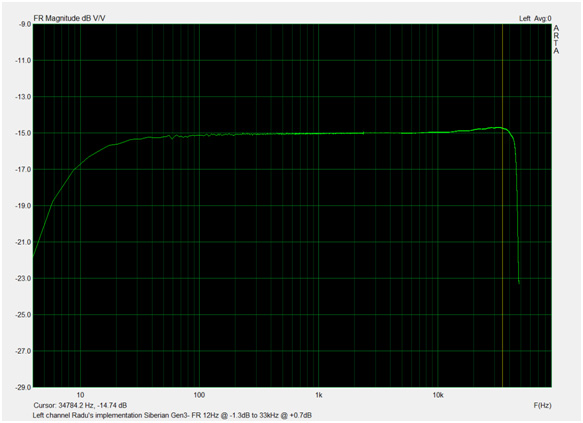
- FR at 3.84Vrms output and 100k+500pF load : 12Hz@-1.3 to 33kHz@+0.7dB
- FR at 3.84Vrms output and 100k+2,000pF load : 12Hz@-1.3 to 30kHz@+3 dB
- Power consumption: circa 90VA
- Output impedance: circa 165 ohms (measured Vo=3.6245Vrms(no load) and Vl=3.6165Vrms with about Rl=75k load, Z0=Rl*(Vo-Vl)/Vo )
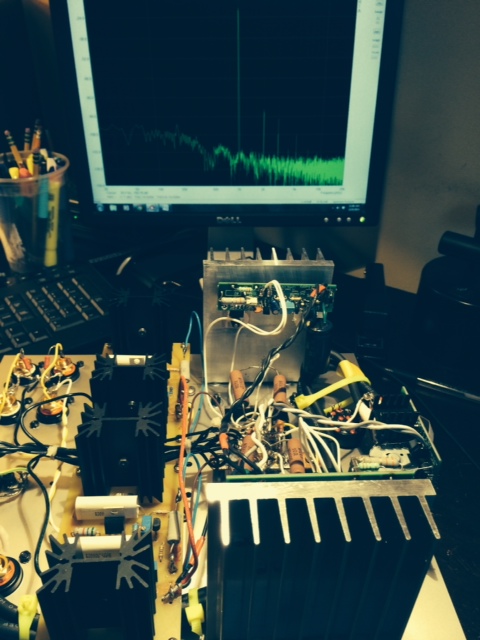
Measurements using ARTA: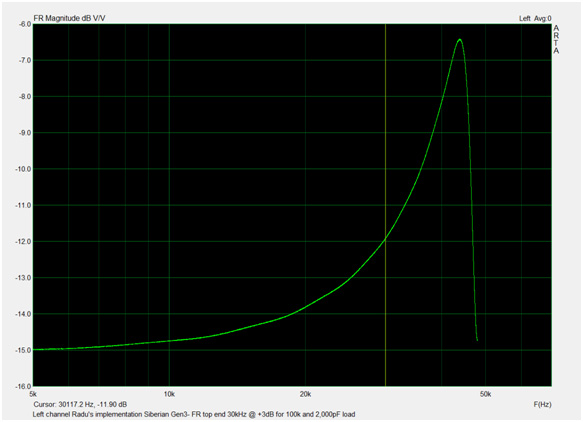

The sound of this preamp is in one word superb. Listening to Toni Gibson’s “Echo in my Soul” and I can say it sounds fantastic.
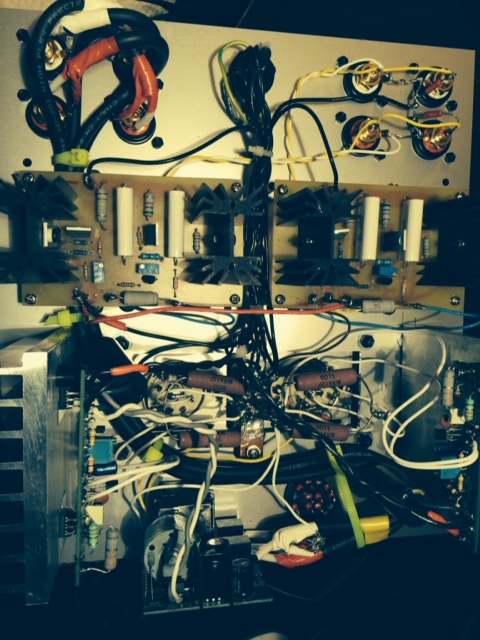
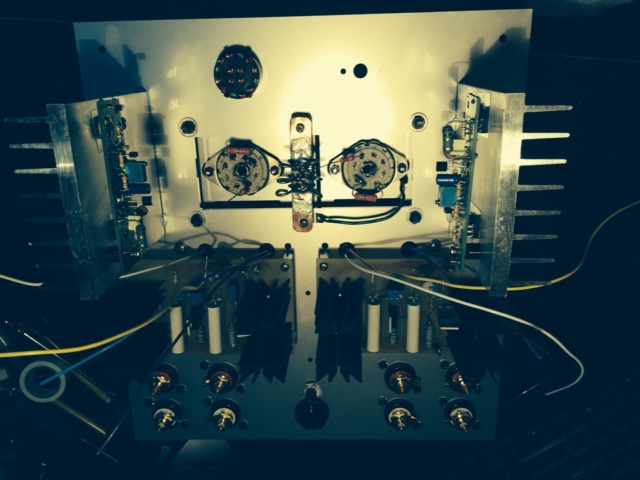
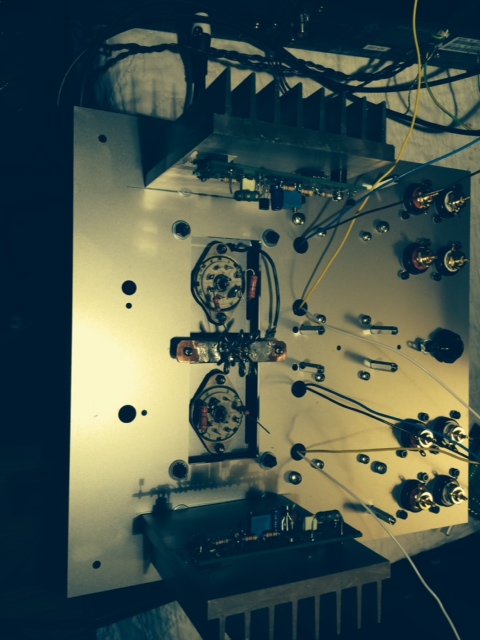
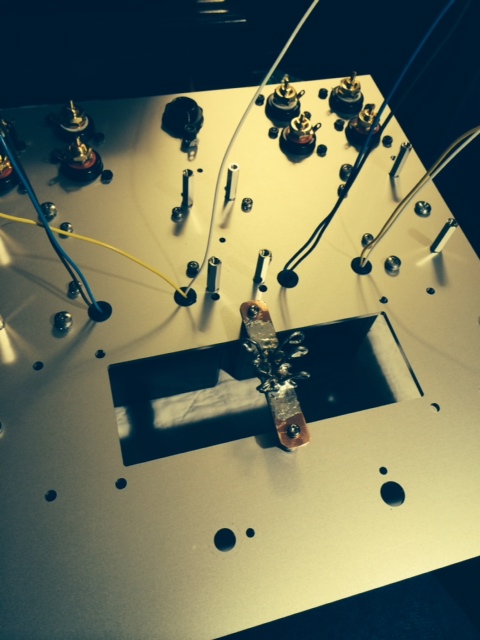
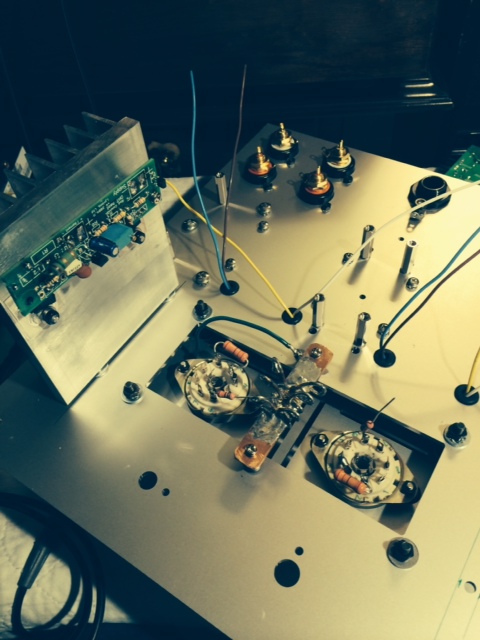
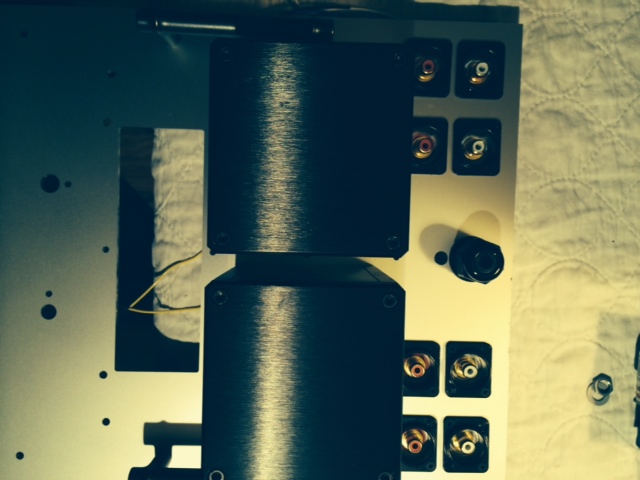
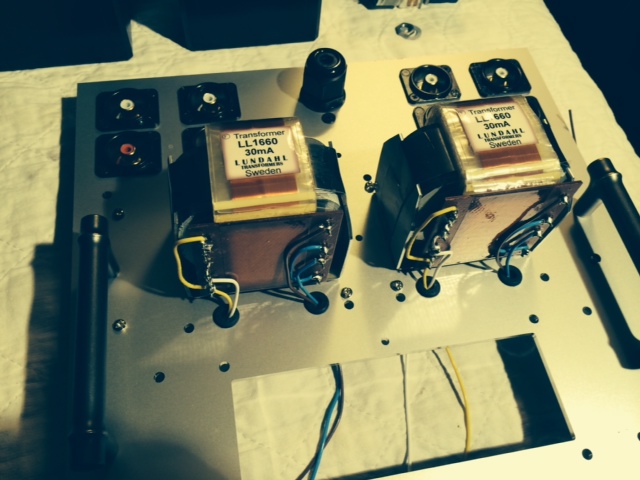
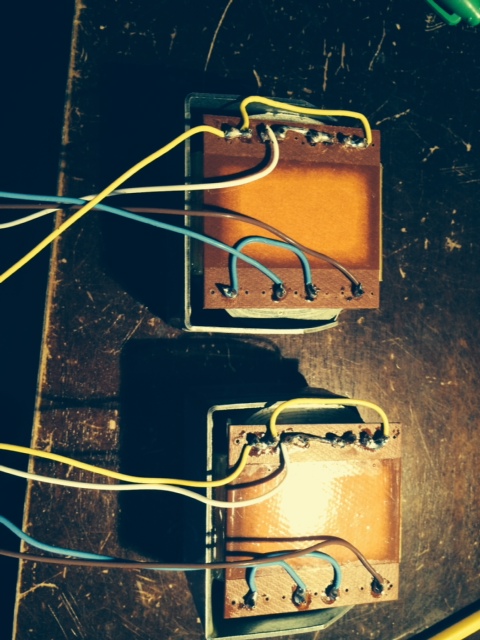
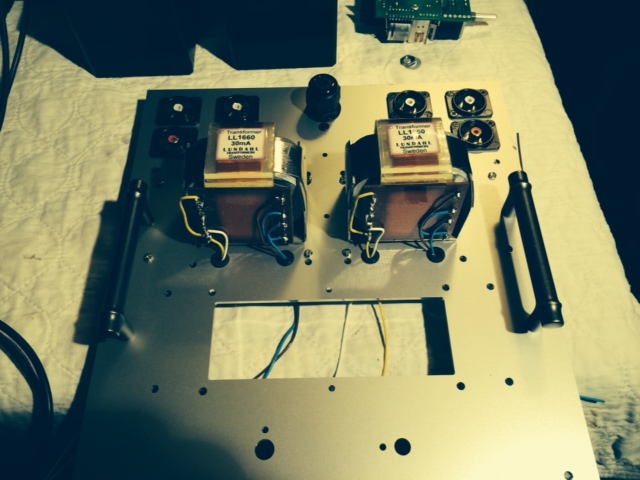
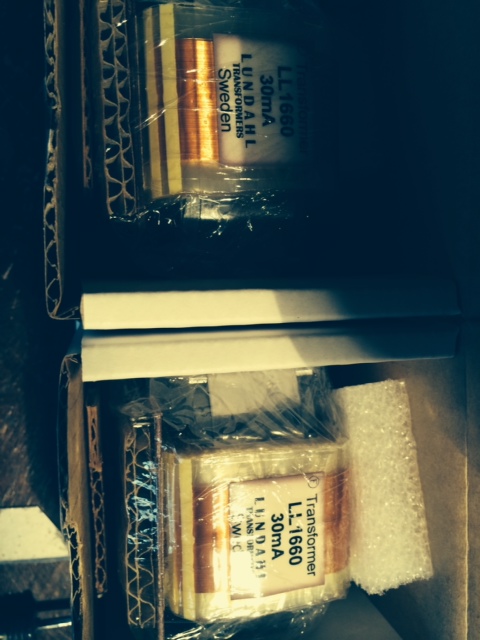
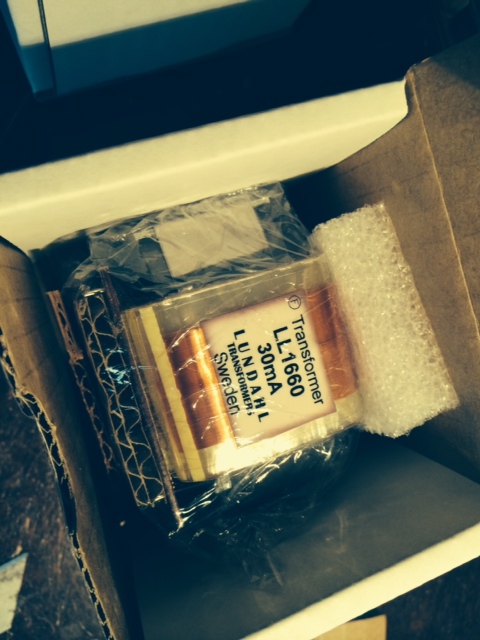
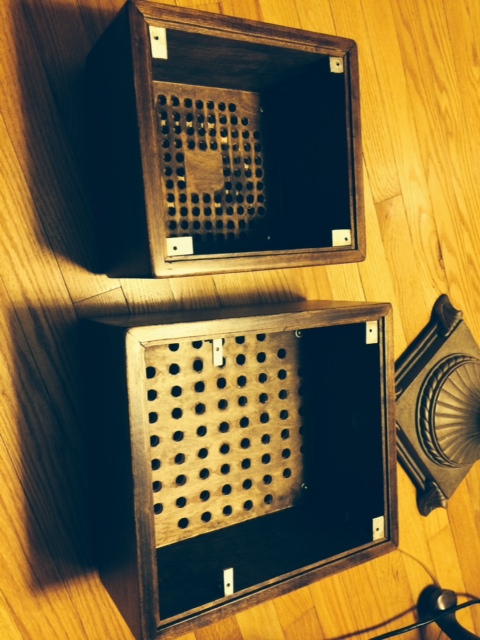
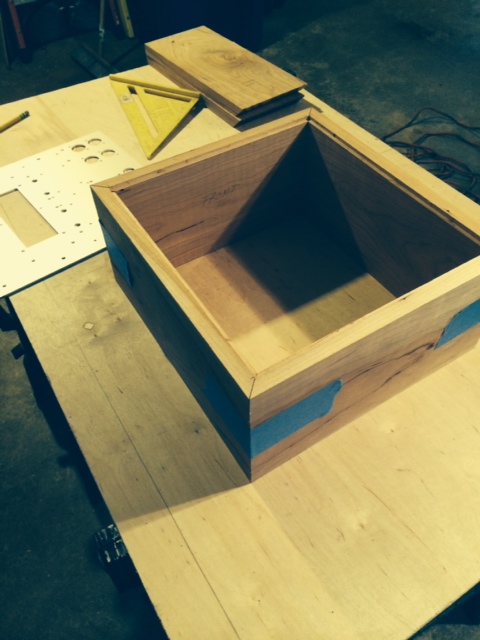
Here are few pictures during building this preamp/linestage:


Good morning,
Congratulations, first of all, to the wonderful accomplishment!
I wanted to ask you a help, kindly, with regard to voltage regulator by RodColeman … … that value of R1 or R2 chose for the current range.
Thank you for your attention,
Kind regards,
andrea
Hi Andrea,
You can buy the regulators from Rod’s at http://lyrima.co.uk/dhtreg/dhtRegIntro.html and he is providing all the support you need . However, I used 1.6 ohms ( R1 and R2 are parallel so you can play with the values, or you can place one only) that gives a approximate adjustments between 500-650 mA. Considering this resistor dissipates about 0.4W, a 3W power rated resistor should be appropriate.
Depending on what version of regulators you have, raw supply requirement are different. I like the latest version because requires less voltage. I bought these regulators from Rod’s in last three years and I am extremely satisfied with the performance. Need help, ask Rod, he is awesome.
Hope this will help you.
Good luck,
Radu